Loft Floor Installation: Safe Methods to Prevent Damage and Heat Loss
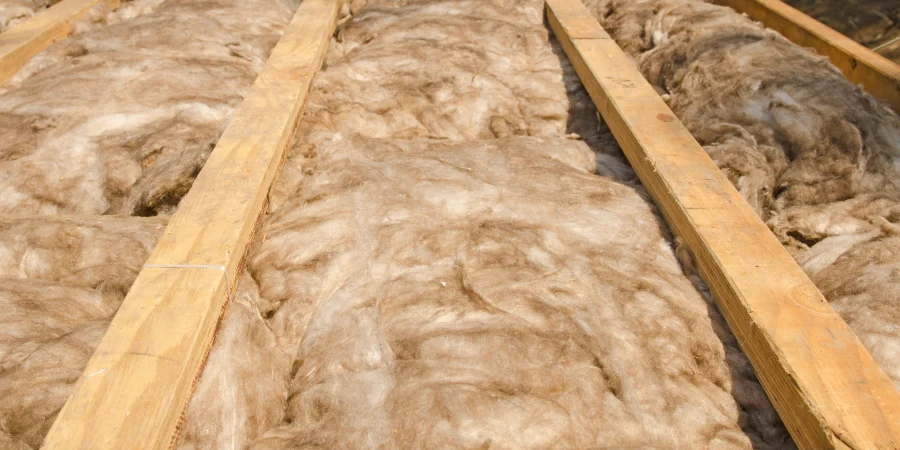
Installing a loft floor can transform wasted roof space into practical storage or prepare the way for a full loft conversion, but it must be done with care. The right method will protect your insulation, keep the structure strong, and ensure your home remains energy-efficient, while the wrong approach risks cracked ceilings, heat loss, and costly repairs.
Powered by:
.png)